This is a breakdown of creating a customizable prop asset with Unreal 4 Blueprint.
It's possible to go about creating customizable assets in different ways, including manually assembling or kitbashing multiple assets directly in a level. This approach can be messy and difficult to manage, however, especially if the asset is meant to be repetitious or used many times. And if we plan to repeat objects many times, then we probably care about consistency, too - boundaries or rules about how objects can (or should) be customized.
By tying everything together with a Blueprint asset, it's possible to expose customization properties for designers, while creating scripted behaviours to apply customizations rather than relying on manual property changes. Multiple components (mesh, material, lights) can be encapsulated within a single Blueprint actor instance, where they can easily communicate with one another. For example, a property could be queried from the material and used to set the color of the light sources.
Of course, a high level of detail and customization may not be suitable for all projects or asset types. More modular approaches might require loading additional assets or instantiating more objects, with implications on memory or draw calls. Your project and requirements dictate when and where to employ customization of this type, as opposed to 'pre-baked' object variations created by merging actors or creating constant material instances.
In this case, the goal was to create a set of reusable light sources to help with look development of game environments. We had considered building some nighttime scenes which were predominantly lit by illuminated exit signs, and studied a lot of reference images - both of scenes lit in this way, and the sign fixtures themselves. Observations from the references revealed some distinguishing features:
- Signs can be wall- or ceiling-mounted with different brackets
- The sign's plastic housing can be colored differently
- The lens (emissive portion) is generally green or red
- Illuminated arrows sometimes guide the way out, or are covered with plastic blanks
- Older signs used bulbs (instead of LEDs) which become dim or burnt out, affecting the brightness
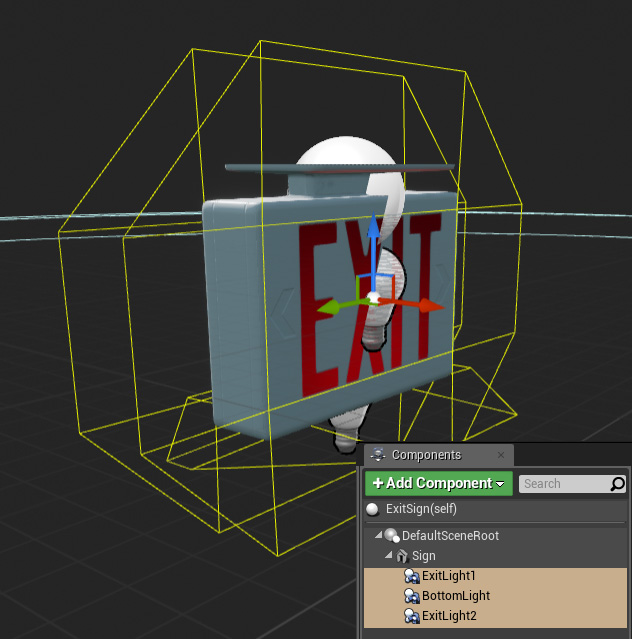
It was possible to support customization for all of these observed qualities, by tying together:
- A
StaticMeshComponentto display the sign model - Three static
RectLightComponents, one for each illuminated surface - A
MaterialInstanceDynamicwith parameters for brightness, color, etc.


Instances can be customized in terms of their mesh, colors, brightness, and arrow direction. Although separate mesh parts were authored, they were merged into different mesh variations in order to avoid creating additional components within the Blueprint which would add additional draw calls. To expose properties to the designers, most of the variables were declared as instance-editable by clicking on the adjacent eyeball icon. This makes them appear as controls in the details pane, and they can be individually adjusted for each different instance in the level.

All functions to create and update the object were placed in the construction script. This code is executed on the editor-side when the object is updated (or moved, if desired), at cook-time, or at runtime for objects which are dynamically instantiated during gameplay. The construction script was divided into four groups based on behaviour.

First, a MaterialInstanceDynamic is created and associated with the Blueprint instance. The material instance is assigned to the MID variable just after creation, so that we can reference it later and assign it to the meshes.

Next, the sign type (mesh variation) is selected from a list of soft references and resolved. This approach is used so that only the utilized mesh variants are loaded. This wouldn't be the case if direct, hard references were used to point to the different mesh variations - every variation would still be loaded with the Blueprint asset.

The next group applies parameters on the material instance, based on the Blueprint's variables. For example, this sets the material's emissive brightness and color, the basecolor of the plastic housing, whether the arrows are illuminated, and so on.

For variation in larger scenes, 'random' values can be generated for the light and emissive intensity on a per-instance basis. Randomization occurs at-will, rather than on every execution of the construction script. This is handled by generating new values only when a boolean property is set to true, then immediately negating the boolean. The values become re-rolled every time the boolean property is clicked within the details pane - treating it as a simple pushbutton, effectively. This was done to provide designers a way to 'lock-in' values which they found desirable, rather than forcing a re-randomization every time the construction script executes, which could include when unrelated properties (like color) are adjusted.
The final group contains functions to set the parameters of the light components. This makes their intensity and color match the Blueprint variables, and the values we previously set in the material instance. The lights on the bottom and back can be disabled for specific cases - when the sign is placed against a wall, for instance.

Finally, here is an overview of the parent material setup. The parameters are controlled by the dynamic instance created by the Blueprint. A packed mask texture was used to manage the directional arrows, and for emissive variation.

